Hi! I am returning to the blog after a few years. I only posted once (an Introduction) and just didn't have the time to commit to running a blog when I was trying to set up my business and care for my young children. well fast forward two whole years and I'm back, hopefully this time for regular posting. Now my children are a little older and I have gained some valuable experience in these past few years, I feel I am ready to share the process of my restorations. Hopefully, I they will be of some help to you and offer some inspiration and encouragement.
Since my last post I have secured a great concession in Hemswell Business Park Gainsborough in a delightful new Antique shop called All'N'Sundry. I am also A stockist of the fabulous Frenchic Chalk and Mineral Paint and currently stock 16 colours. I still struggle somewhat to juggle business and family but it is getter easier. I've learnt a great deal but I am still learning and discovering new interests.
Anyway back to chair stripping....
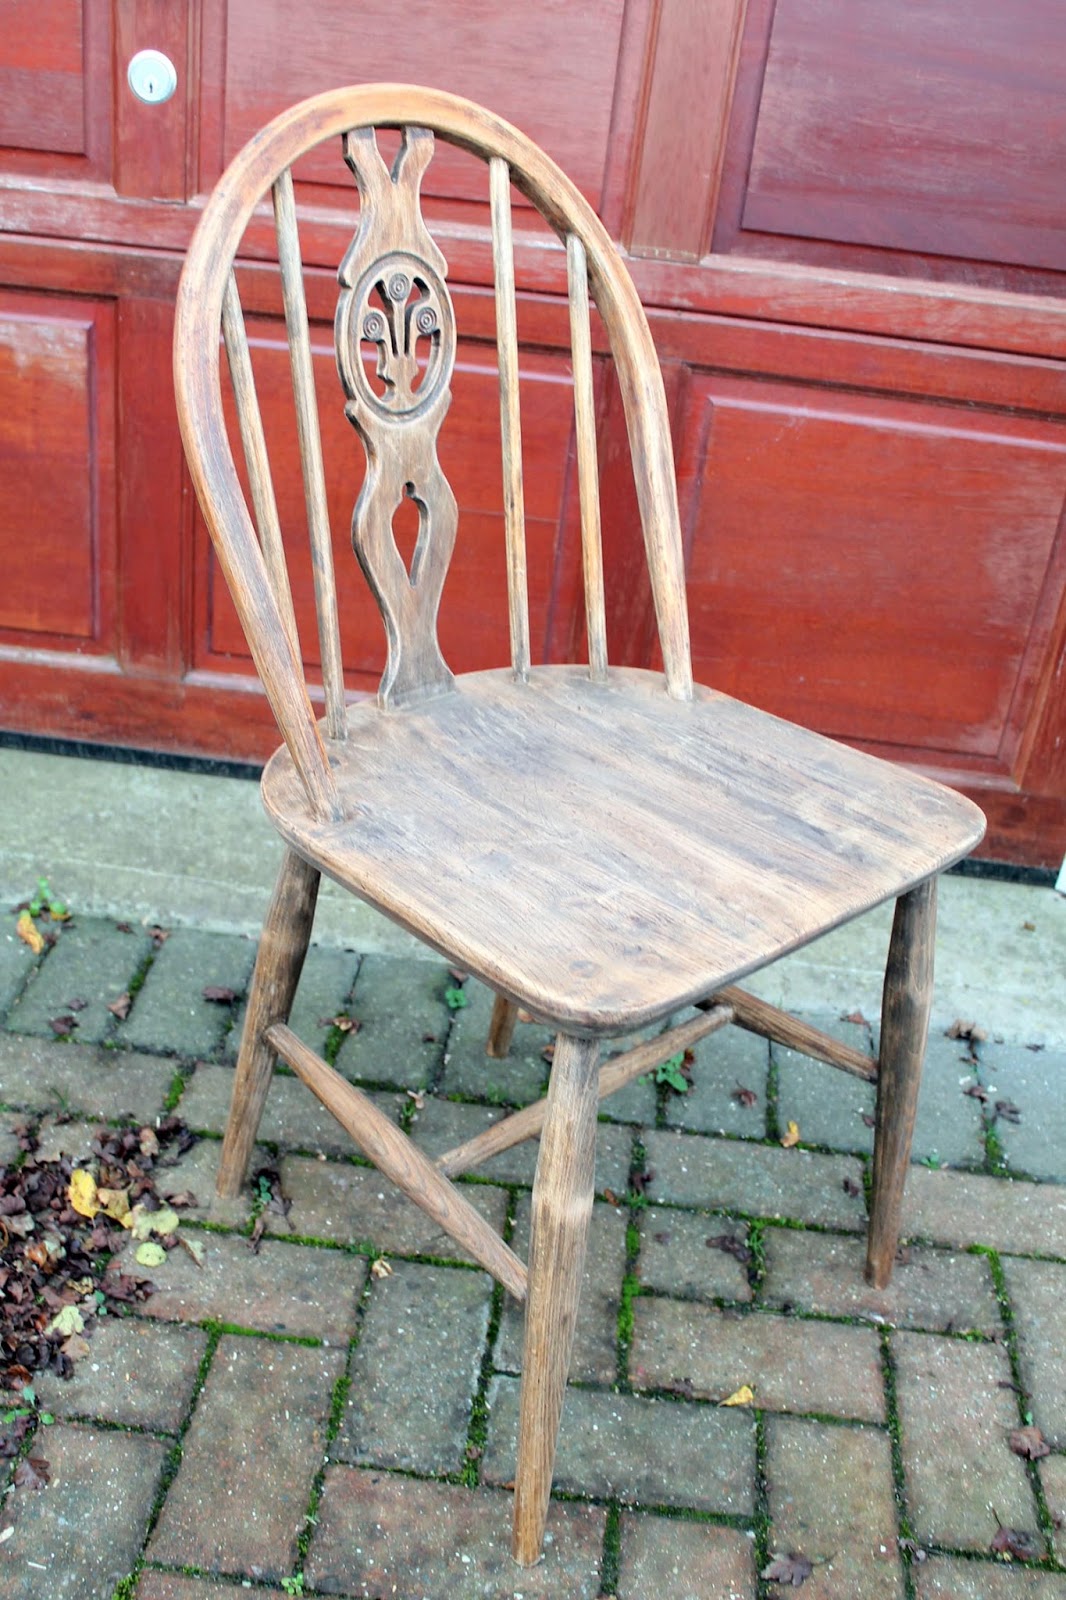
I have a rather large amount of stock, which I've accumulated these past few years and amongst this stock is rather a large number of dining tables and chairs. I have become quite a hoarder, like many fellow furniture up-cyclers. So now is the time to crack on and get through these chairs! I have developed a passion for Ercol furniture. Who doesn't love the classic design and quality, well how could you not! If I get the opportunity to buy it I will, so I have quite a few chairs. Amongst them I have four Ercol Fleur De Lys chairs. I absolutely love this design and was thrilled when hubby collected them along with a nice circular drop-leaf table. Having first tackled the table (which I will come back to), I set about on the chairs. I had mixed a custom Frenchic colour using Panther and Lady Grey, which produced a light charcoal dark grey type of colour. When I further inspected the chairs I discovered to my horror that they had the most horrible glossy finish, which actually still felt tacky to touch!
So here's a picture of the finish on the chairs. Doesn't look bad until you touch it or try to sand it!


I soon realised that it wasn't going to be feasible to paint over this (even though you can do this with chalk paint). In some instances you do have to fully prep rather than just clean. Whatever this tacky stuff was it had to be removed. I tried to remove it with some 80 grit sandpaper and it just clogged straight up. So I applied some paint and varnish remover and began the long process of scraping off the first layer.
Before I continue here is a list of the items I used to completely strip the chairs

- chemical stripper
- flat scraper
- two concave cabinet scrapers (for spindles and chair legs)
- Wire wool
- methylated spirit
- 80, 120 and 220 grit sandpaper
- inexpensive brush\large flat brush for dusting off
- safety goggles
- protective gloves
- the correct mask and filter if not working outside
I was lucky enough to be given the most wonderful tools by my father called Concave Cabinet Scrapers http://www.axminster.co.uk/concave-convex-scraper-sets. Used by cabinet makers they are made from high quality CS80. They are shaped specifically to scrape curved areas such as spindles, chair legs etc. My dad purchased them when he was making walking sticks and they really are the only thing I find works on jobs like this. Just to add make sure you use the right protection when working with chemical strippers. You'll need to protect your eyes, it's very easy to splash stripper in your face, and skin (it will hurt). Thirdly work in a well ventilated area or use a suitable mask, not a dust mask. Inhaling the fumes will cause long term damage. The thicker gel like strippers are better.
So to start, working in small sections (don't plaster the whole chair in one go) apply the stripper liberally and wait for it to work, up to 20 minutes. When I applied it to my finish the reaction was instant. Then with your scraper you can begin to gently scrape the first layer off. Be carefully to get the right angle so you don't gouge a hole in the wood.
You may have to do this a few time repeating the process. The aim is to remove enough finish so that we can sand the surface and not clog the paper up completely. Sandpaper is not cheap so we don't want to be using a tone of it!
 |
| The varnish begins to react with the stripper |
 |
| using the concave scrapers a spindle |
 |
| the base after chemical stripper applied and scraped |

after I sanded with 80 grit and then with 120 grit

I hope this has been helpful. Hopefully you won't come across this dreadful finish and you can simply sand the existing finish to provide a key for the paint. This is essential by the way if painting with acrylic eggshell paint plus you must prime before.
I'd love to see your comments so let me know what you think of my first post!
Gemma x
No comments:
Post a Comment